Starting your grow journey right requires understanding the germination process of autoflower seeds, particularly the optimal conditions and choice of seeds that will thrive in Canada’s unique environment.
To successfully germinate your autoflower seeds, you’ll need to provide an environment that’s akin to a gentle spring day. Temperature is vital; your seeds will germinate best at 20-25°C (68-77°F). Light isn’t necessary during the very early stages of germination, but once they sprout, it becomes crucial for proper growth. Humidity levels should be high, between 70% and 90%, to ensure the seedlings don’t dry out. Moisture is essential, so the medium (like a paper towel or directly in soil) must stay consistently damp but not waterlogged. If using water for germination, make sure the pH level is around 6.0 to 7.0, as extreme pH can hinder the germination process.
Selecting autoflower seeds that are suited to your environment will make a significant difference. Look for strains that are known to perform well in Canadian climates. Pay close attention to seed quality; fresh, high-quality seeds from a reputable supplier will have a higher germination rate. Genetics also play a critical role; different autoflower strains carry genetic predispositions for resilience to certain environmental conditions. Opt for those that offer stability and are bred for the cooler and more varied climate you might encounter in Canada.
Successfully germinating autoflower seeds sets the stage for a healthy and robust cannabis plant. Key to this process is creating a conducive environment for your seeds to sprout, with the right balance of moisture and warmth. Below are specific steps to take in preparing your seeds for germination.
Firstly, choose your germination medium. Common mediums include rockwool cubes, peat pellets, or simply wet paper towels. Ensure that whatever medium you select is moist but not waterlogged. With rockwool or peat pellets, soak them in water for a couple of hours, then let any excess water drain so they are just damp to touch.
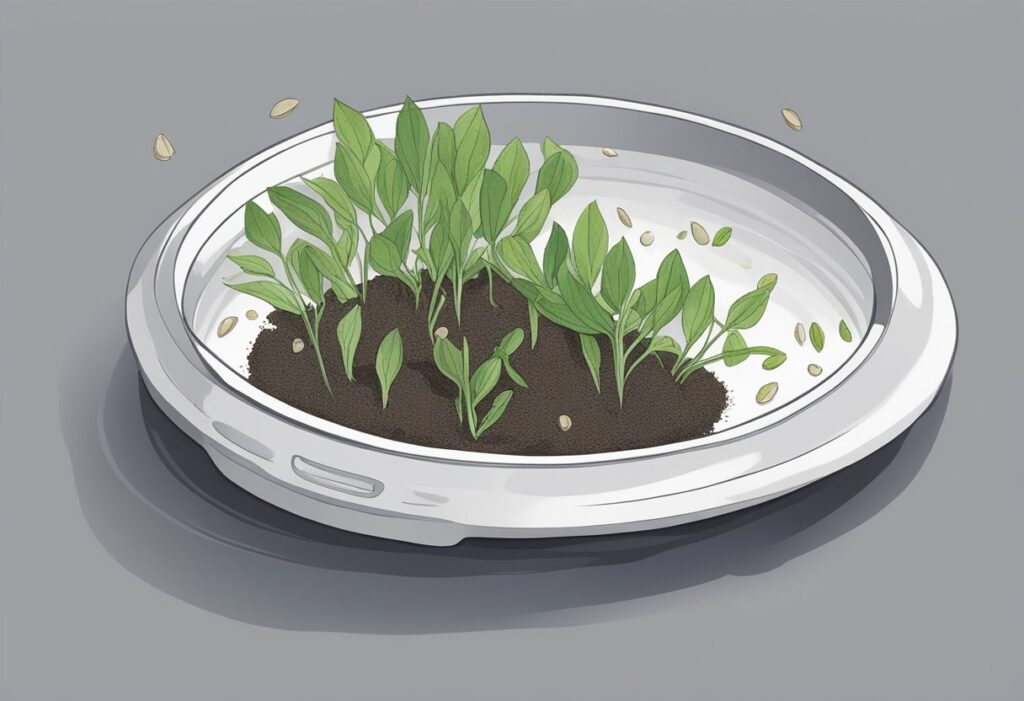
For the paper towel method, dampen two paper towels with lukewarm water. Place the autoflower seeds between the towels, ensuring they’re spaced out to prevent roots from tangling. You may use a plate or plastic container as a makeshift germination chamber—lay a towel on a plate, place seeds on top, cover with another towel and then with another plate or a lid to maintain moisture and create a humidity dome.
If you prefer soaking, submerge the seeds in a small amount of lukewarm water. Once the seed’s tap root—the initial root from the seed—becomes visible, usually measuring 0.7 – 1.3 cm, they’re ready for transfer to your chosen medium. Remember, if using the soaking method, do not keep seeds in water for more than 24 hours as this may deprive them of oxygen and can drown the seed.
After placing your seeds in the moisture, it’s crucial to check on them regularly, at least every 12 hours. Your goal is to maintain constant moisture without over-saturating. The ideal temperature range for germination is between 20-25°C (68-77°F). Watch for the emergence of the cotyledons, the first set of leaves. Furthermore, if you notice any mold or foul smell, it suggests too much moisture and poor ventilation; adjust your setup accordingly.
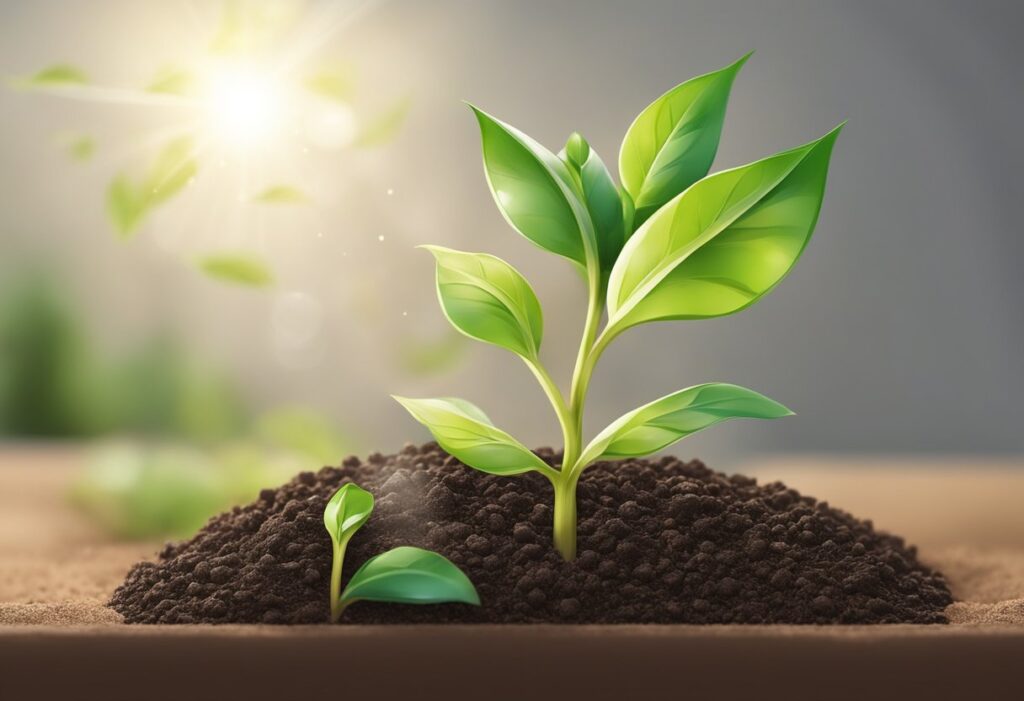
Once your seed sprouts and you see the cotyledons and seedling’s stem, it’s time to carefully transfer it to your growing medium. Care during early seedling care and transplanting is paramount, as this stage is where your plant is most vulnerable. Use gentle hands and minimal disturbance to ensure your hard work in germination leads to a robust beginning for your autoflowers.
Once your autoflower seeds have germinated, it’s time to transition to the crucial stages of planting and growth. In this section, we’ll walk through the process of transplanting your seedlings to their final growing medium, managing their nutrient and water needs, and guiding them through the vegetative and flowering stages to ensure a successful harvest.
After germination, transplanting is a pivotal step. With autoflowering cannabis, it’s best to minimize stress by planting your seedlings directly into their final growing medium. If you must transplant, do it very carefully to avoid rooting issues. Autoflowers thrive in airy and light soil with good drainage. Here’s a quick guide:
Autoflowers are sensitive to nutrient overload. Throughout the vegetative stage, they need a balanced mix of Nitrogen (N), Phosphorus (P), and Potassium (K). Start with quarter strength nutrient solutions and only increase if your plant shows signs that it needs more. Overwatering is a common mistake; ensure your pots have proper drainage and allow the top inch of soil to dry out before watering again.
Nutrient Schedule:
The vegetative stage in autoflowering cannabis is brief, often lasting only a few weeks. During this time, your plant will be developing its structure and foliage. Ensure it receives 16 to 20 hours of light daily to maximize growth. As you transition to the flowering stage, you’ll notice buds forming. This stage can last anywhere from 5 to 7 weeks. Continue to monitor nutrient levels but be cautious as the plant’s requirements shift from Nitrogen to Phosphorus and Potassium. As you approach harvest, reduce nutrients to flush out any excess, ensuring a pure final product.
Here’s what to expect during the growth stages:
Your autoflower seeds will germinate best in a stable temperature range between 20°C to 25°C (68°F to 77°F). Consistent warmth encourages optimal germination rates and healthy early growth.
If your autoflower seeds aren’t sprouting, it could be due to various factors, such as old or poor-quality seeds, incorrect planting depth, inadequate moisture, or temperatures that are too low or too high.
Light isn’t necessary during the initial germination stage. Seeds can germinate in darkness. However, once the seedlings emerge, they’ll need sufficient light to grow properly.
Plant your autoflower seeds about 5mm to 10mm (0.2″ to 0.4″) deep into the growth medium. Planting at the correct depth ensures the seedling can break through the soil easily.
Moisten a paper towel, place your seeds on it, then fold it to cover them. Store the paper towel in a plastic container or between two plates to retain moisture. Check daily to ensure the towel remains damp and watch for the emergence of a small root.