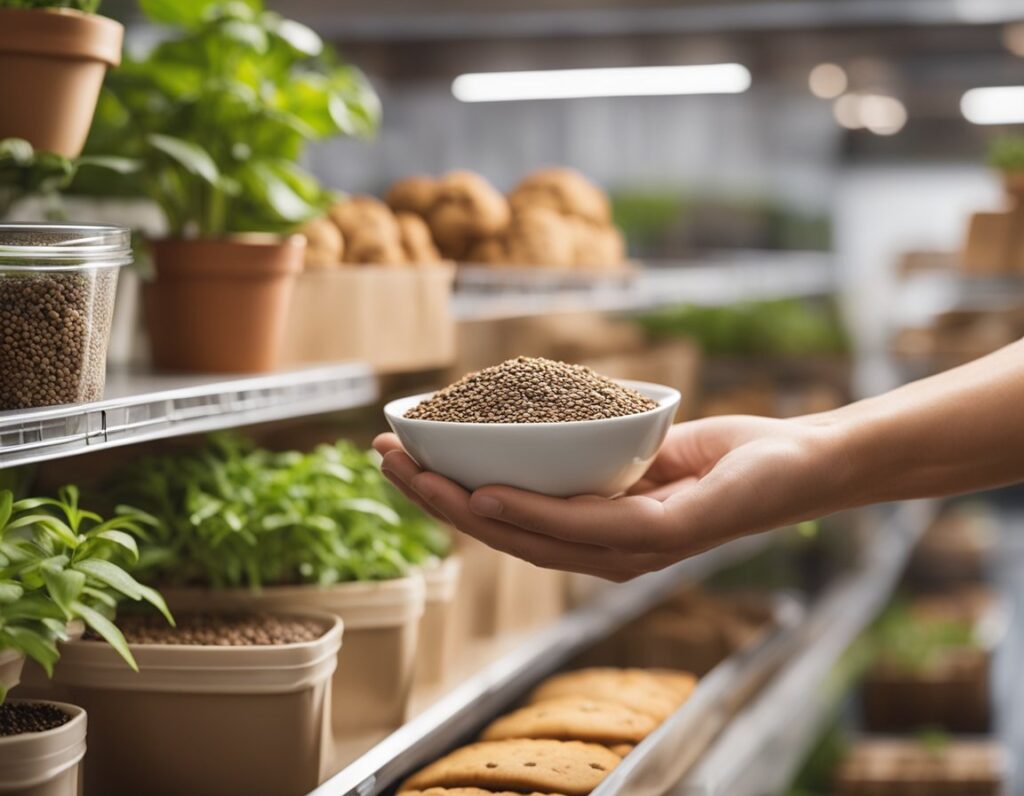
To grow the ideal organic cookies seeds, begin by exploring cannabis strains and appreciating seed quality. These are crucial to ensure optimal growth and yield.
Selecting the right strain is vital for cultivating organic cookies seeds effectively. Cannabis strains, like Indica, Sativa, or Hybrid, offer unique traits. Indica offers relaxation effects, while Sativa is more energizing. Hybrid strains combine elements from both.
Consider the expected growth pattern and climate adaptability. Feminized seeds could be optimal for growers focused on bud production, as they develop into female plants. Examine the lineage and genetics of each strain, which influences flavor, aroma, and potency. This understanding helps in choosing a strain that aligns with your climate and desired effects.
Ensuring high seed quality is essential. Purchase organic cannabis seeds from reputable suppliers who offer certifications and detailed information about seed origin. Organic seeds are free from synthetic chemicals, promoting a healthier plant lifecycle. Check the appearance of seeds; they should be firm, dark in color, and have a glossy sheen. Proper storage in cool, dry conditions can maintain seed viability. Utilize organic potting soil during planting to support sustainable growth and enhance the plant’s health. Prioritize seed quality as it affects germination rates and overall plant development, ensuring successful harvests.
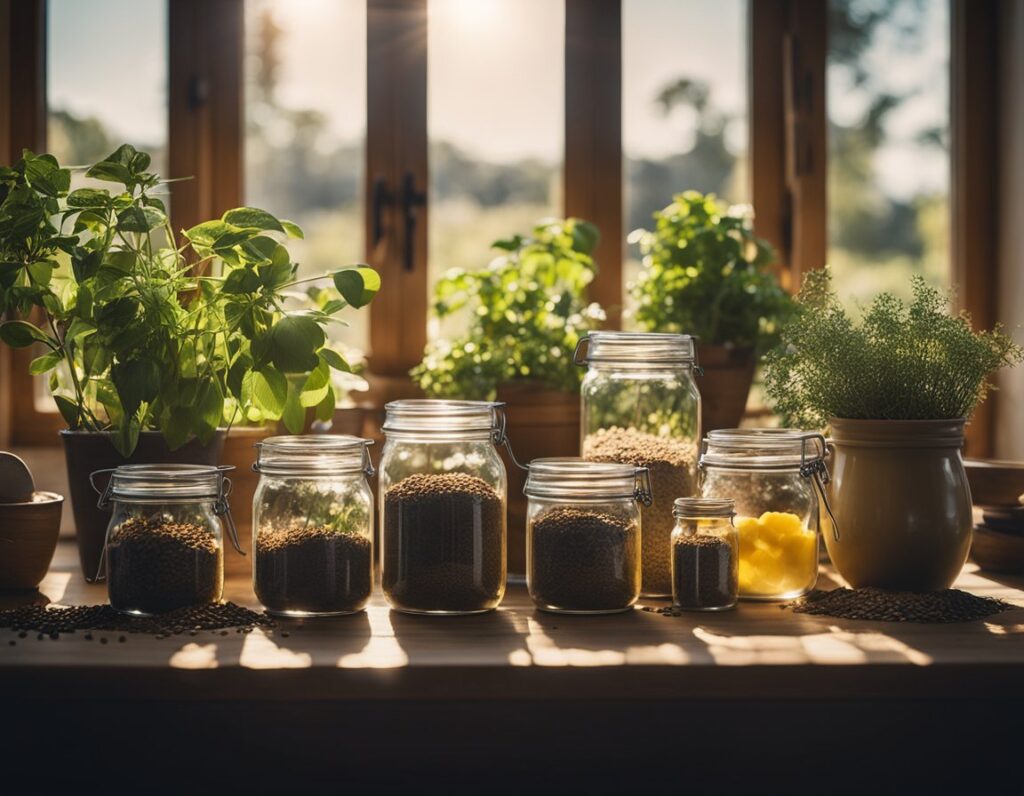
Creating an optimal environment for growing organic cookies seeds requires careful attention to location and lighting. Whether growing indoors or outdoors, consider soil quality, lighting sources, and environmental controls to ensure healthy growth.
Selecting the right location is critical to success. Outdoor growing should be in a spot with plenty of sunlight and protection from strong winds. Check the soil’s pH and nutrient levels; rich, loamy soil is best.
Indoor growing offers more control. A grow tent can maintain optimal conditions. Ensure adequate ventilation to regulate temperature and humidity. Both indoor and outdoor growers should plan for space, as overcrowding can lead to poor air circulation and potential disease issues.
Light is vital for the development of organic cookies seeds. If growing outdoors, aim for a location with 6-8 hours of sunlight each day. For indoor setups, LED lights are energy-efficient and can mimic the sun’s natural light cycle.
Regulate the light cycle to provide 18 hours of light and 6 hours of darkness for optimal growth. The humidity level should also be monitored closely. Too much or too little light can hinder growth, so adjust as needed.
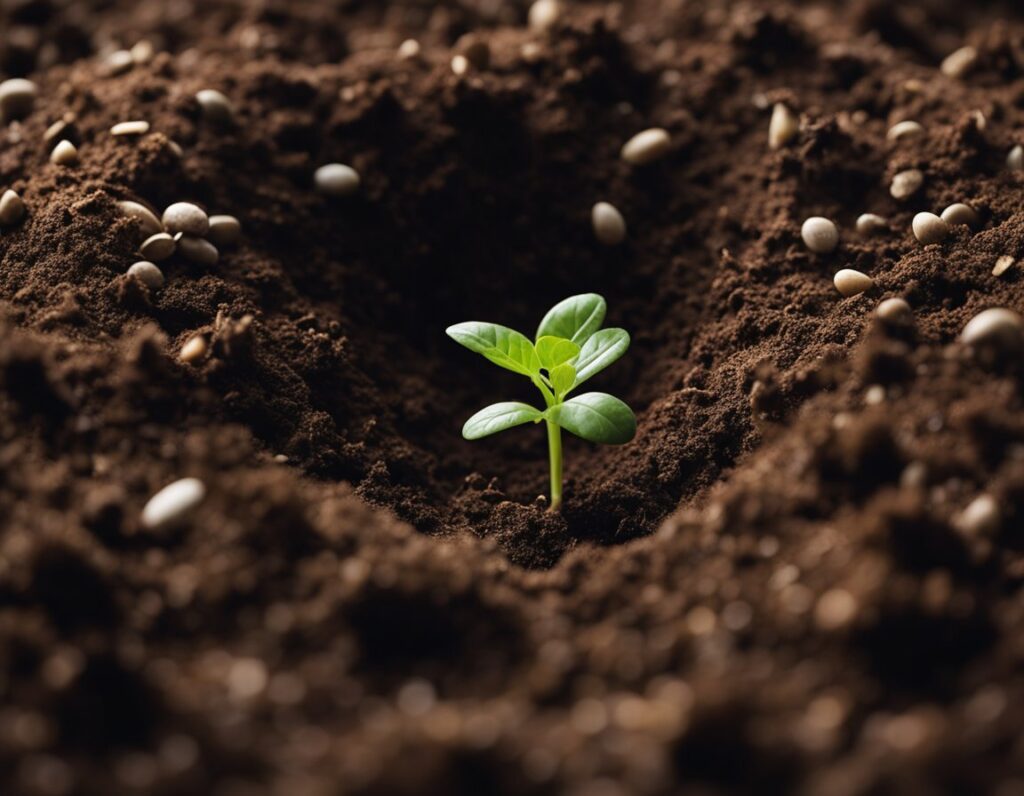
During the germination to seedling stage, you’ll use techniques such as the paper towel method to ensure your organic cookie seeds sprout efficiently. As they transition to the seedling stage, proper care involving moisture, light, and nutrients is key for healthy growth.
To successfully germinate your organic cookie seeds, maintain a consistently warm environment. The paper towel method is a popular technique. Place seeds between two moist paper towels, then seal them inside a plastic bag to retain humidity.
Temperature and light play crucial roles. Keep the seeds in a spot that is around 70-77°F. While light isn’t necessary for germination, indirect light can help maintain warmth. Consider applying mycorrhizal fungi to the seed surface before sprouting. This symbiotic relationship enhances nutrient uptake.
After a few days to a week, you should see small roots emerge. At this stage, transplanting seedlings into a soilless mix is essential. Ensure they are planted at the correct depth for optimal growth.
Once seedlings appear, focusing on consistent moisture and nutrients is crucial. Water seedlings with a gentle spray, ensuring the soil remains damp but not waterlogged. This prevents root rot and encourages robust development.
Lighting is important for the seedling stage. You may need to provide 14-16 hours of light daily using fluorescent or specialized LED grow lights. Keep the light source about two inches above the canopy.
As seedlings enter the early veg stage, they benefit from diluted nutrient solutions. These should be rich in nitrogen to support growing foliage. Regular monitoring of humidity and temperature helps minimize stress and prevent diseases. Adjust conditions as needed, creating an environment where your organic cookie seedlings thrive.
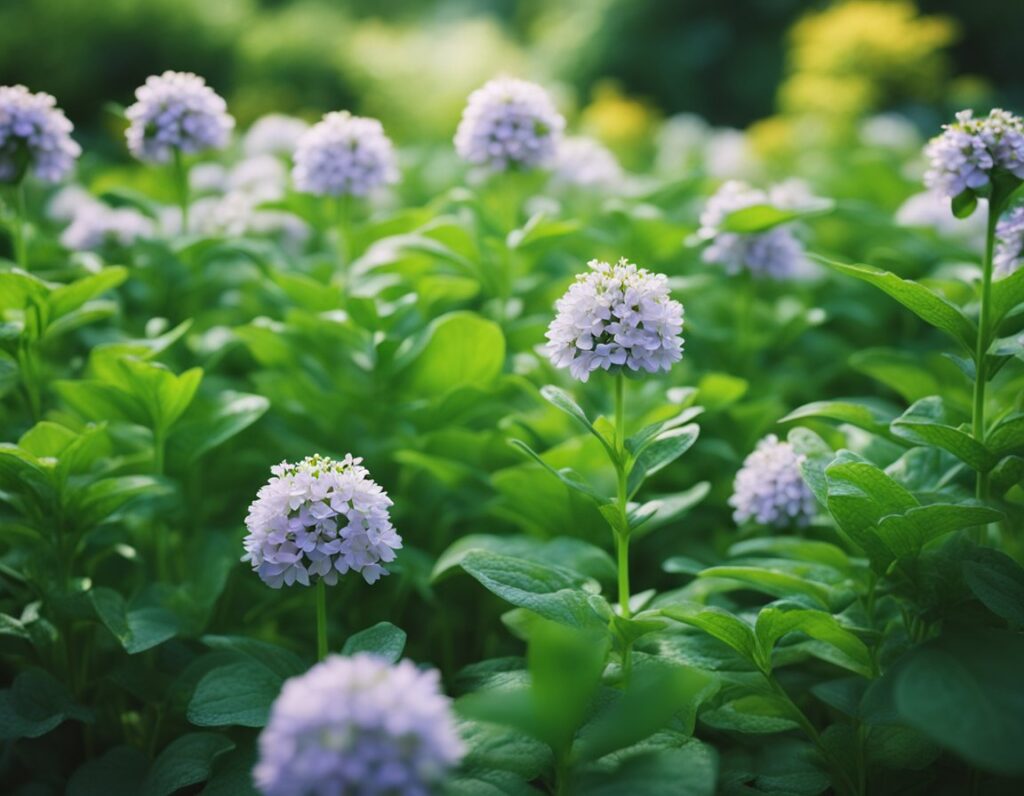
Successfully transitioning your cannabis plants from the vegetative to the flowering phase involves careful attention to nutrition, watering, and changes in light cycles. Understanding these key aspects will help your plants thrive and maximize yield.
During the vegetative phase, your plants require a nutrient-rich diet to support growth. Nitrogen becomes vital here as it helps in developing lush foliage. A balanced feed usually includes a nitrogen-phosphorus-potassium (N-P-K) ratio of around 3:1:1.
Watering should be consistent but not overdone. Use the finger test; if the top inch of soil is dry, it’s time to water. Always opt for clean water to maintain the organic quality of your grow.
Incorporate organic composts or tea to naturally boost nutrients.
The vegetative phase is crucial for setting up the plant’s structure. Keep your grow lights on for 18 hours a day to promote steady leaf and stem growth.
Pruning and training can be essential strategies for controlling height and encouraging more budding sites. Techniques like topping or LST (Low-Stress Training) can maximize light exposure to the leaves.
Pay attention to mid-veg conditions, like room temperature and humidity levels, which should be monitored to stay within optimal ranges: 70-85°F and 40-70% humidity.
The shift to the flowering stage often involves changing the light cycle to a 12/12 schedule, simulating shorter days. This triggers the plant to start developing buds.
Be prepared to adjust the nutrient mix, increasing phosphorus and potassium levels, which are more crucial during flowering. Avoid drastic changes; gradual nutrient adjustments are crucial.
Monitor signs of pre-flowering, such as pistils or small bud formations, to help determine the exact time to switch.
Ensure your grow space is sufficient to handle the plant’s natural height increase, known as the “flowering stretch,” to prevent issues as the plants develop.
When growing organic Cookies seeds, employing advanced techniques can significantly improve plant health and yield. Techniques such as low-stress training and strategic pruning are crucial methods for optimizing growth and maximizing harvest.
Low-stress training (LST) involves gently bending and tying down plant stems. This method encourages a more horizontal growth pattern, leading to better light exposure for the entire plant.
By carefully pulling branches apart, you create a more expansive canopy, allowing for more uniform light distribution. This improved exposure can significantly boost your yield without invading plant health. Using soft ties or plant twist ties, you’ll guide the branches without damaging them.
LST is beneficial as it avoids the stress of cutting. Unlike high-stress techniques, LST doesn’t cause growth to slow or stop, maintaining your plants’ vigorous growth phases.
Pruning involves removing unnecessary leaves and small branches to enhance light penetration and air circulation within the canopy. This method minimizes the energy spent on less productive parts, allowing the plant to focus resources on main branches.
Topping is another method that encourages the development of more substantial colas by cutting the main stem’s tip. The plant then diverts its energy, resulting in two new tops.
Proper pruning and topping increase yields and maintain healthier cannabis plants. Carefully time these actions during the vegetative stage, ensuring your plants are strong enough to recover quickly.
Proper harvesting, curing, and storing are crucial to preserve the quality and potency of your organic cookie seeds. Each step requires attention to detail, from checking trichomes to maintaining the right storage conditions.
Knowing when to harvest your organic cookie seeds ensures maximum potency and flavor. Focus on observing the trichomes, which should be milky white to amber, indicating peak ripeness. Amber trichomes suggest a higher THC content, enhancing the aroma and potential effects. Using a magnifying glass can help in closely inspecting the trichomes. Pay attention to other indicators such as the color and health of the plants, including their resin levels, to determine readiness.
After harvesting, drying and curing are essential to bring out the best qualities in your seeds. Hang the branches in a dark, cool room with good airflow to dry. Aim for a temperature of 60-70°F and humidity around 55%.
Once dried, the curing process stabilizes moisture levels and improves smoke quality. Place the seeds in an airtight container, burped daily for the first week to release excess moisture. Gradually reduce the frequency as time progresses. Proper curing enhances the aroma and flavor profile, making it crucial for an optimal user experience.
Storing your organic cookie seeds correctly is vital for preserving their potency over time. Use airtight containers made of glass or other non-reactive materials to avoid moisture exposure. Keep the storage area cool and dark, with no direct sunlight, to prevent degradation of THC and other cannabinoids.
Consider adding a humidity pack to maintain consistent moisture levels, enhancing the longevity of the seeds. Labeling each container with the harvest date can help you monitor freshness over time. By maintaining these conditions, your seeds will retain their desired qualities for months, offering a rich and potent experience whenever used.
In organic cookie cultivation, understanding the stages of seedling development, optimal conditions for germination, and identifying healthy seedlings are crucial. Additionally, knowing how to care for overwatered seedlings, when to introduce nutrients, and successfully transitioning to the vegetative stage are important aspects.
Seedling development begins with germination. The seed sprouts and the embryonic root and shoot system emerges. Next, the cotyledons appear, providing initial energy. True leaves then develop, signaling the plant’s readiness for more complex growth.
You might notice yellowing leaves and wilting if seedlings are overwatered. To treat this, decrease watering frequency and improve soil drainage. Providing aeration can also help the plant recover by encouraging proper moisture levels.
Introduce nutrients when the seedlings develop their first set of true leaves. Organic fertilizers should be diluted initially to prevent nutrient burn. This helps ensure the seedlings receive adequate support for healthy growth.
At one week, a healthy seedling shows strong, vibrant green cotyledons. By two weeks, the plant should have developed its first set of robust, true leaves. Sturdy stems and vibrant coloration are indicators of good health.
Maintain a consistent temperature around 70-75°F for optimal germination. Use a sterile seed starting mix and ensure a humid environment. Regular monitoring helps in avoiding drying out of the soil.
We ship and deliver world wide via USPS and various couriers.
We offer a wide range of secure and anonymous online payment options.
We care about you, our customer. Please contact us with any questions or concerns.
Find out more about the benefits of being a loyal and regular customer.
WE ARE EVERY GROWERS ONE STOP SHOP TO ACQUIRE PREMIUM CANNABIS SEEDS FOR SALE IN THE USA, CANADA AND AUSTRALIA

Farmers Lab Seeds 2024, | All Right Reserved
Seeds are sold as novelty items, souvenirs, and collectibles. They contain 0% THC. We encourage our customers to check the legislation in their Country, State, Province, and Municipality prior to purchasing items from our store. We do not provide growing information.
All seeds are sold as hemp, and lab tested under 0.3% THC. This product is not for use by or sale to persons under the age of 21. This product should be used only as directed on the label. It should not be used if you are pregnant or nursing. Consult with a physician before use if you have a serious medical condition or use prescription medications. A Doctor’s advice should be sought before using this and any supplemental dietary product. All trademarks and copyrights are property of their respective owners and are not affiliated with nor do they endorse this product.
These statements have not been evaluated by the FDA. This product is not intended to diagnose, treat, cure or prevent any disease. Individual weight loss results will vary. By using this site, you agree to follow the Privacy Policy and all Terms & Conditions printed on this site. Void Where Prohibited by Law.