Autoflowering cannabis plants, often referred to as autoflowers, are a type of cannabis that automatically transition from the vegetative stage to the flowering stage with age, rather than the change in light cycle required by photoperiod plants. This unique characteristic makes autoflowers well-suited for your growing endeavors, especially if you’re contending with Canada’s shorter summer seasons.
Growth Characteristics:
Autoflowers are developed by crossing indica or sativa strains with Cannabis ruderalis, a species known for its autoflowering trait. The result? Plants that maintain the THC and CBD profiles of traditional cannabis strains while inheriting the autoflowering quality.
Stages of Autoflower Plant Growth:
Remember, while regular cannabis strains require particular light conditions for growth stages, your autoflowers will make the shift naturally, giving you a hands-off experience in timing light exposure. Moreover, autoflowering cannabis plants tend to have a more straightforward cultivation process and can be grown multiple times per season, maximizing your chances for a hearty yield.
When growing autoflower seeds in the diverse Canadian climate, your approach to location, soil management, watering schedule, and protecting your young plants becomes critical. Tailoring your grow to Canada’s environmental conditions ensures a strong start and maximizes your yield potential.
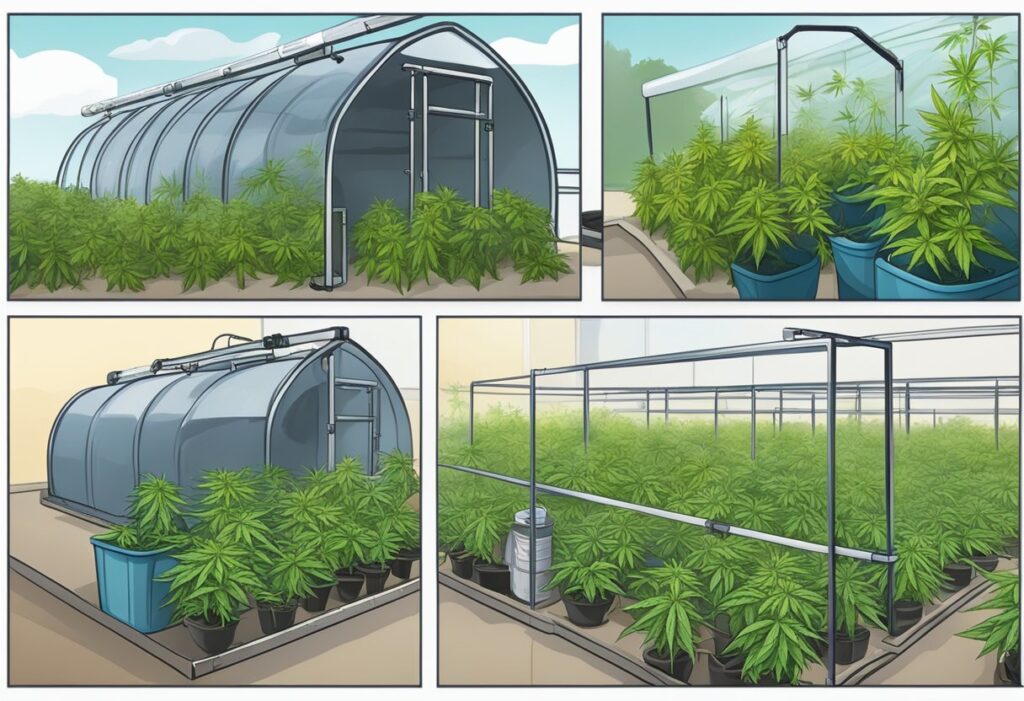
Finding the right spot can affect your autoflower’s health and yield, whether you grow indoors or outdoors. Outdoors, you’ll want a location that gets ample sunlight but is shielded from heavy wind or rainfall. Indoors, consider space with stable temperatures where you can control light and humidity levels.
For autoflowers, airy and well-draining soil mixed with perlite or coco coir enhances root growth and soil moisture level. Use pots with good drainage to avoid waterlogging. pH levels should be kept around 6.0–7.0 to ensure nutrient availability.
Nutrient-rich soil is required, but beware of nutrient lockout. Water only when the top inch of the soil is dry to avoid overwatering or underwatering. Establish a consistent watering schedule, slightly increasing frequency through the vegetative growth stage to early flowering.
Autoflowers thrive in a controlled environment. Aim for temperatures between 20°C–25°C during the day and slightly cooler at night. Maintain humidity levels between 40-60%. For indoor growth, use full-spectrum LED grow lights that mimic natural sunlight and ensure adequate ventilation.
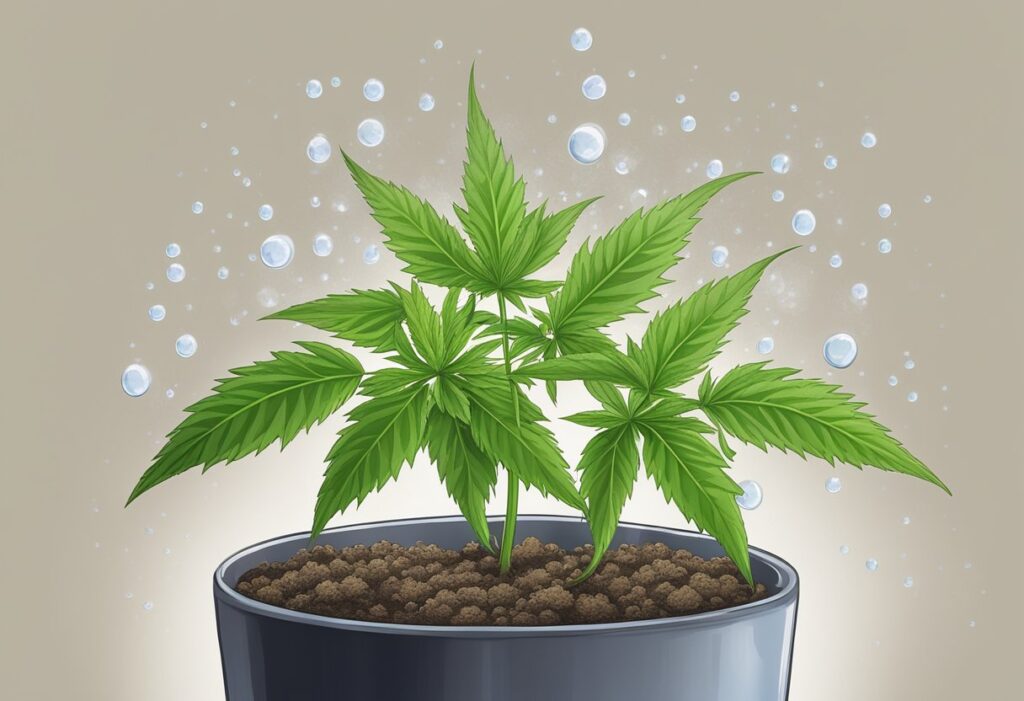
During germination and the seedling phase, maintain moist but not waterlogged soil. Excessive moisture can lead to root rot, while too little can stress young plants. Be gentle with watering, using a spray bottle to keep the soil moist without disturbing the root system.
Pests and diseases like mold can derail your autoflower grow. Inspect plants regularly for signs of distress such as drooping or yellowing leaves. Drip irrigation systems help maintain consistent soil moisture, preventing common issues associated with erratic watering practices. Be proactive in your defense against these challenges to keep your plants thriving.
Before you reap the benefits of your hard work in cannabis cultivation, it’s crucial to understand the processes of harvesting, curing, and storing. These steps are imperative for maximizing yield potential, ensuring healthy growth, and preserving potency.
To determine the perfect time for harvest, pay attention to the trichomes on your cannabis plants. These tiny, crystal-like structures shift from clear to a milky white as they mature, signaling optimal THC levels. When around half of the pistils have darkened and curled, this typically indicates readiness. Harvesting at the right time can prevent both premature and overripe buds, keeping your cannabis potent.
Visual Guide to Trichome Clarity:
Once harvested, curing your cannabis properly enhances its potency, improving both the flavor and smoke quality. Begin by trimming away excess fan leaves and then dry the buds slowly over a period of about a week in a controlled environment. After drying, place the buds in an airtight container, such as a mason jar, opening it several times a day to let out moisture and ensure even curing. This process, which should last for about two weeks, will help develop the terpene profile and increase the potency of your cannabis.
Curing Process:
Proper storage is key to maintaining the integrity of your yield. Keep your cured cannabis in a cool, dark place to reduce the risk of mold and maintain potency. Humidity should be kept around 60-65% to preserve the buds’ structure without drying out. Containers such as glass jars are best, and avoiding plastic bags will ensure long-term freshness.
Storage Tips:
Remember, the time and effort you invest in harvesting, curing, and storing your autoflower seeds can substantially influence the final quality of your cannabis.
Indoor autoflower plants often require a controlled watering schedule due to a consistent environment, while outdoor plants may demand more adaptive watering tactics in response to natural elements like rainfall and temperature variations.
To find the right watering schedule, you should assess your seedlings daily. The top inch of soil should be dry before you water again. Observation of the plants’ appearance and soil moisture levels will guide you to adjust the schedule as needed.
Your autoflower plants will thrive on clean, pH-balanced water. Aim for pH levels between 6.0 and 7.0 in soil environments and 5.5 to 6.5 if you’re using hydroponics. If using tap water, consider filtering it to eliminate chlorine and other chemicals that may affect plant growth.
Start with a diluted nutrient solution for young plants, gradually increasing as they grow. The frequency and strength of nutrients will peak during the flowering stage and should then be reduced as you approach harvest time.
Yes, you can acclimate autoflowers by gradually exposing them to outdoor conditions over a week. Begin with shorter outdoor durations and avoid extreme temperatures or direct sunlight initially to prevent shock.