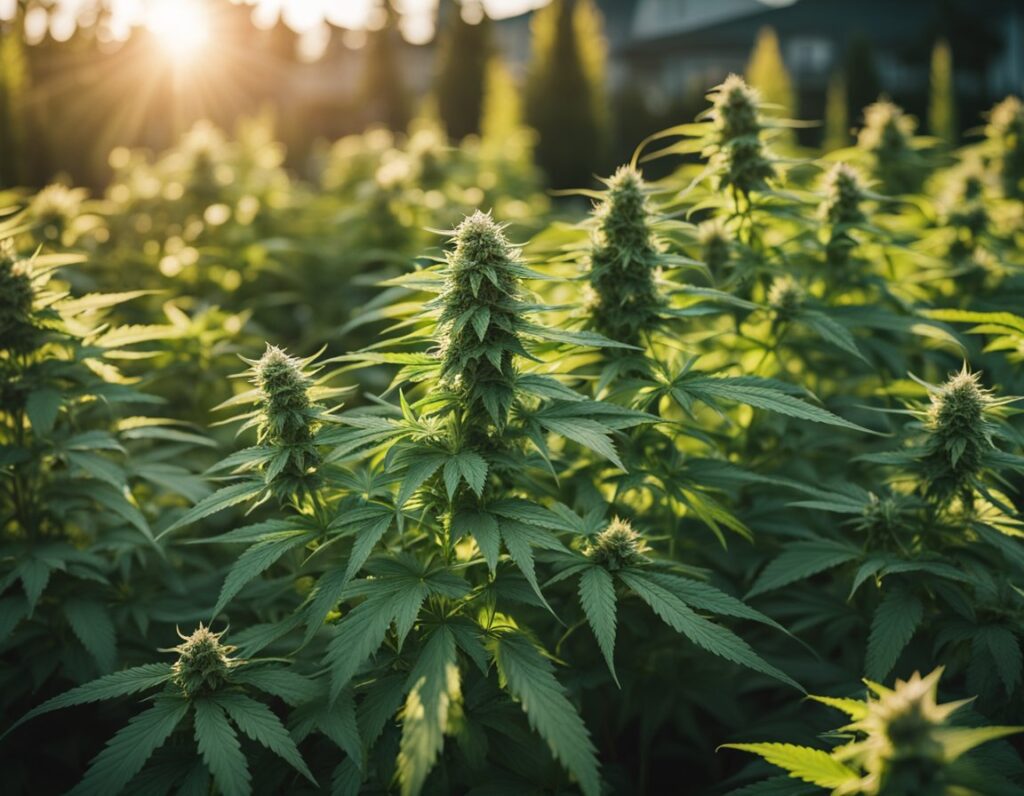
Autoflowering cannabis seeds are a unique category of cannabis seeds known for their ability to flower automatically after a specific period, regardless of light conditions. This characteristic is primarily derived from the ruderalis species, which adapted to environments with varying light availability.
Unlike traditional photoperiod cannabis seeds, which require a change in light schedule to trigger flowering, autoflower seeds transition from the vegetative stage to flowering on their own, usually within 2 to 4 weeks. This trait allows you to grow these plants in less time and with more flexibility.
When selecting autoflowering cannabis seeds, look for feminized seeds to ensure that your plants produce flowers rather than seeds, maximizing the yield of usable product. The potency of autoflowering cannabis can vary, but many strains offer impressive levels of THC, comparable to traditional strains.
Understanding these key aspects will help you successfully cultivate your autoflowering cannabis plants in Vancouver’s diverse growing conditions, especially with Marijuana Seeds Vancouver cultivators prefer.
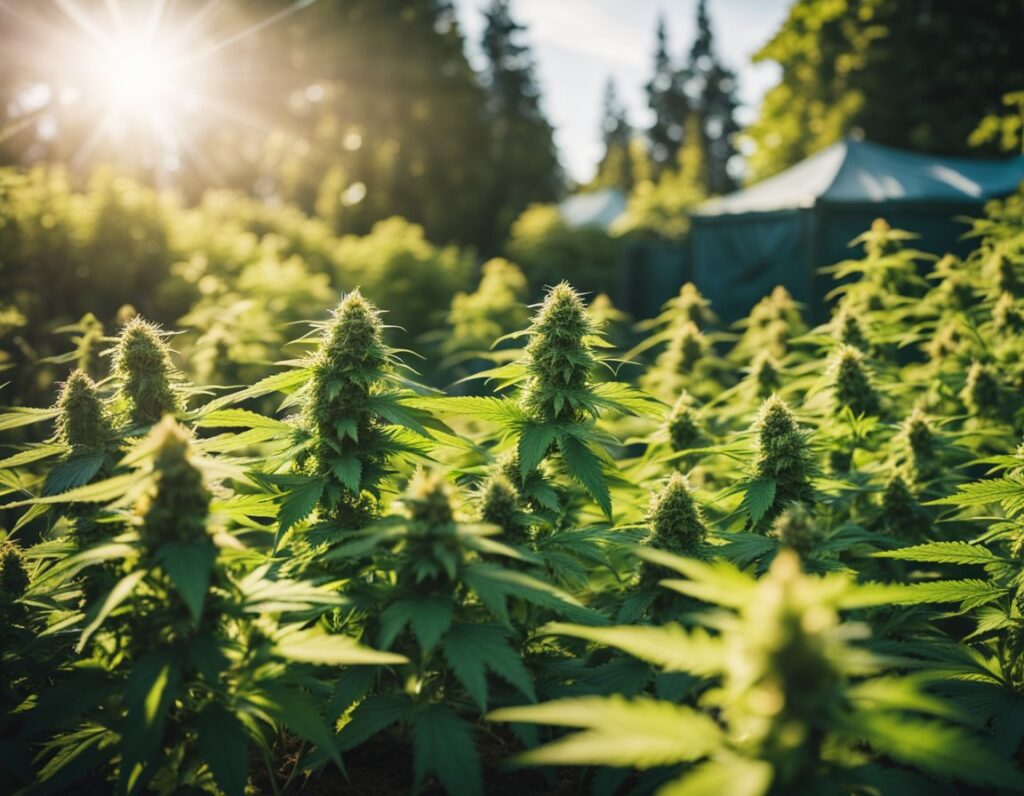
Creating the right environment is essential for successful autoflowering cannabis cultivation in Vancouver. Key factors include light exposure, soil quality, and adaptation to local conditions. Understanding these aspects will help optimize your growing experience.
Autoflowering cannabis plants thrive on a consistent light cycle. When growing outdoors in Vancouver, take advantage of the long summer days. Aim for 14-18 hours of sunlight daily during the growing season, which typically runs from late April through early September.
If you’re growing indoors, consider using some of the top grow lights for indoor cannabis cultivation, such as full-spectrum LEDs set to 18 hours on and 6 hours off. This setup ensures your plants receive ample light for vigorous growth and development. Be cautious of light intensity; too much can stress plants, while too little hinders growth.
Choose high-quality soil that offers good aeration and drainage. Soilless mixes or well-aerated potting soils work well for autoflowers. Aim for a soil pH between 6.0 and 7.0, which is optimal for nutrient uptake.
Incorporate organic nutrients tailored for autoflowers. Consider using compost or well-rotted manure, which provides essential nutrients without overwhelming the plants. Ensure you monitor the soil moisture, as autoflowers prefer a moderately moist environment but can suffer from overwatering.
Vancouver’s coastal climate can present challenges. Watch for fluctuating temperatures and humidity levels. Autoflowering strains often adapt well but may require some attention.
Temperature should ideally range between 20-28°C during the day and not drop below 15°C at night. Use fans or dehumidifiers to control humidity levels, keeping them between 40% and 60%. This helps prevent mold and promotes healthy growth. Removing excess foliage also aids in airflow, reducing the risk of disease. Starting with high-quality autoflowering seeds Vancouver growers prefer will further contribute to a successful harvest..
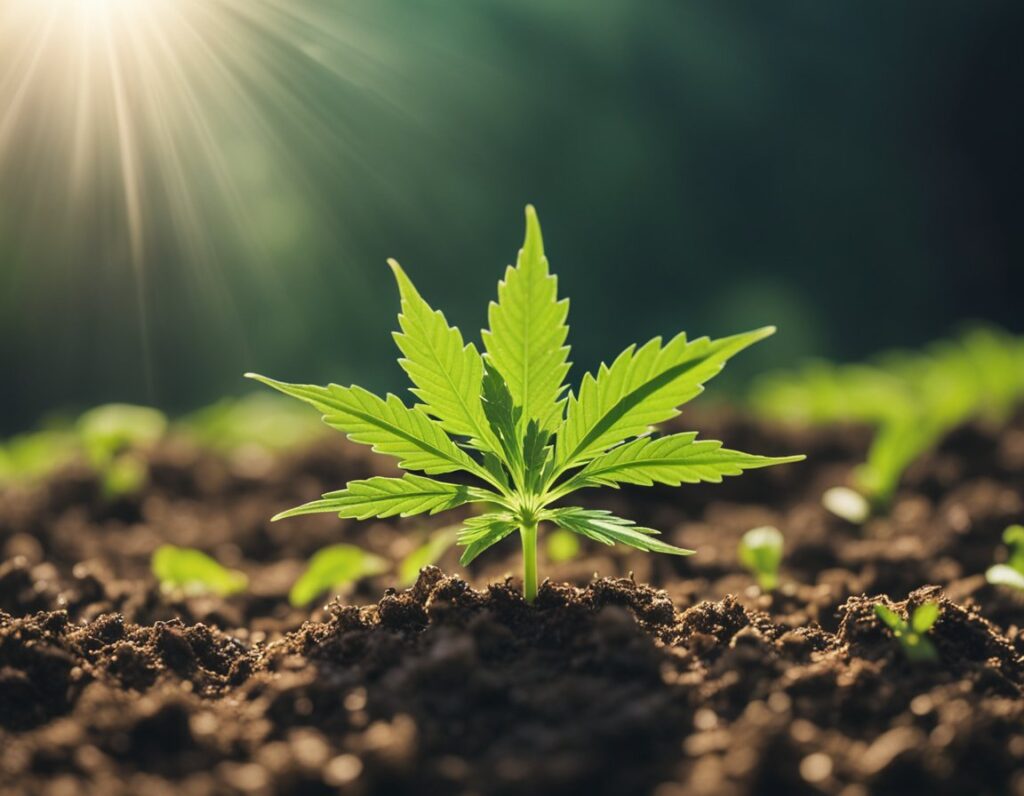
In this phase, you will guide your autoflowering cannabis seeds from germination through the seedling stage and into vegetative growth. Proper attention to these stages is crucial for a healthy plant that can yield effectively.
Begin your journey by ensuring you have high-quality seeds. Germination can start by soaking seeds in water for 12-24 hours. This softens the seed coat and initiates the sprouting process. After soaking, transfer the seeds to a damp paper towel inside a sealed container or two plates to retain moisture. Keep it in a warm, dark area.
Once you see a taproot emerging, it’s time to plant. Prepare a pot with a soil mix, poking a 10-15mm hole for the seed. Place the seed in the hole and cover it lightly with soil. Water gently to avoid disturbing the seed. Your seeds should sprout within a few days, entering the seedling stage, where they will develop their first true leaves.
As your plant transitions to the vegetative phase, it will experience rapid growth. Ensure your lights are set to an appropriate cycle, typically 18 hours on and 6 hours off. This cycle promotes healthy growth.
During this stage, monitor your plant for any signs of nutrient deficiencies. Feed using a balanced fertilizer high in nitrogen, following the manufacturer’s instructions for dosing. Water regularly, but don’t overwater; allow the topsoil to dry slightly between waterings.
Regularly check your plants for pests and diseases, as they can develop quickly in the vegetative phase. Maintain optimal temperature and humidity levels, ideally between 70-85°F (20-30°C) and 40-60% humidity. Your plants need adequate airflow; consider using fans to keep the air circulating.

The flowering stage is critical for developing high-quality cannabis. Understanding how to manage this phase and effectively determine when to harvest is essential to achieving optimal results.
During the flowering phase, you should focus on maintaining the right environmental conditions. Aim for temperatures around 71°F (20°C) and a relative humidity of 45% to support healthy growth.
Light exposure remains vital; a schedule of 18 hours on and 6 hours off is commonly used. Some growers prefer continuous light during this period to enhance photosynthesis.
Pay close attention to the plants. As they progress, you’ll notice the emergence of pistils, which are the flowering hairs. This stage often lasts 6 to 10 weeks. Regularly check and remove fan leaves that obstruct light to lower bud sites, allowing for better airflow and light penetration.
Knowing when to harvest is essential for maximizing potency and flavor. The best time to begin evaluating your plants is around the 8 to 10-week mark of the flowering stage.
Look closely at the trichomes, the tiny resin glands on the buds. When they shift from clear to cloudy, it indicates peak potency. For a more relaxed effect, wait until some turn amber.
You can also check the pistils; when about 70% have darkened, it’s often a good sign your cannabis is ready to harvest. Harvesting too early or late can significantly affect the quality of the final product.
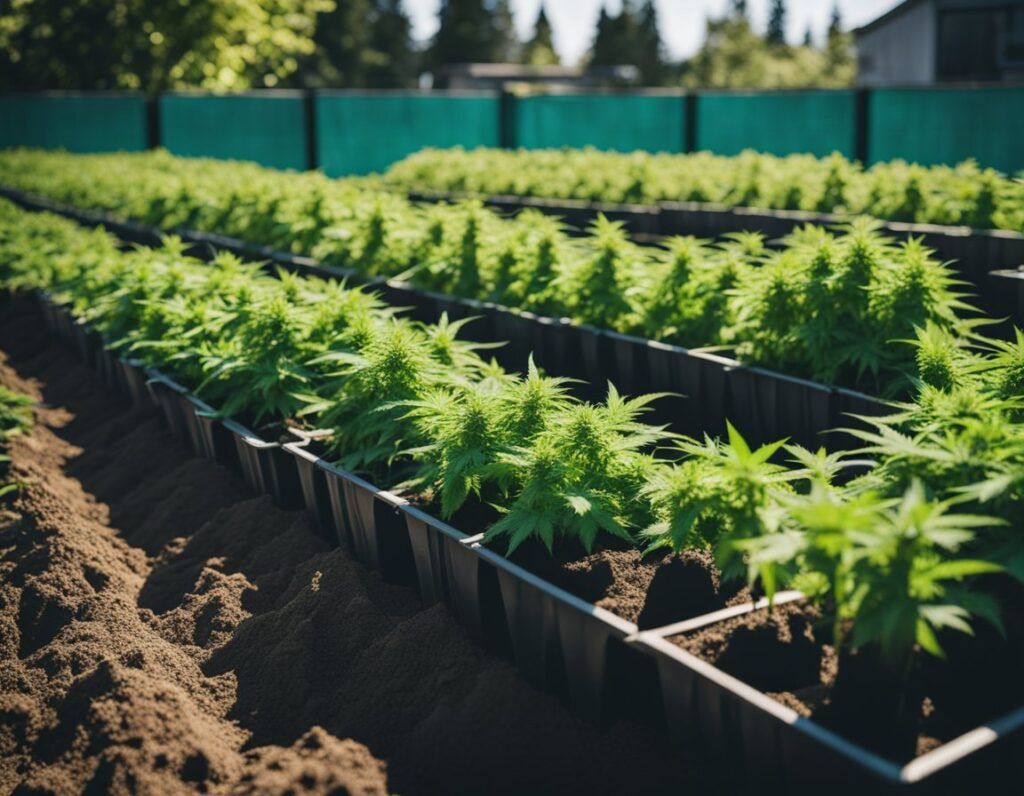
To achieve high yields when growing autoflowering cannabis seeds in Vancouver, it’s essential to implement specific cultivation techniques. Key focus areas include low-stress training, a consistent watering and nutrient schedule, and proper flushing before harvest to optimize plant health and production.
Low-stress training helps maximize light exposure to all parts of the plant without causing significant stress. Start by gently bending the main stem and tying it to the side of the pot. This encourages lateral growth, allowing more bud sites to develop.
Use plant ties or soft materials to secure branches as they grow. This technique promotes an even canopy, which enables better light penetration. Maintain the training until flowering begins to ensure each cola has sufficient light and space to thrive.
Proper watering and nutrient management are critical for high yields. Begin with small pots (10-15 liters) to control growth and then transplant into larger pots as needed. Water when the top inch of soil feels dry. Overwatering can drown roots and hinder growth, so ensure proper drainage.
For nutrients, opt for a balanced mix specifically designed for autoflowering strains. Follow a schedule: during the vegetative phase, focus on nitrogen, while the flowering phase requires phosphorus and potassium. Adjust based on your plant’s response, paying attention to any signs of deficiency or excess.
Flushing is a crucial step just before harvest to enhance flavor and potency. Begin this process about one to two weeks before you plan to cut down your plants. Use plain water to leach out residual nutrients from the soil.
By removing excess nutrients, you ensure a cleaner taste in your final product. Monitor your plants; signs of yellowing leaves indicate that the flush is effective. This technique is vital for achieving high yield and quality in your harvest while promoting healthier plants during the final growth stages.
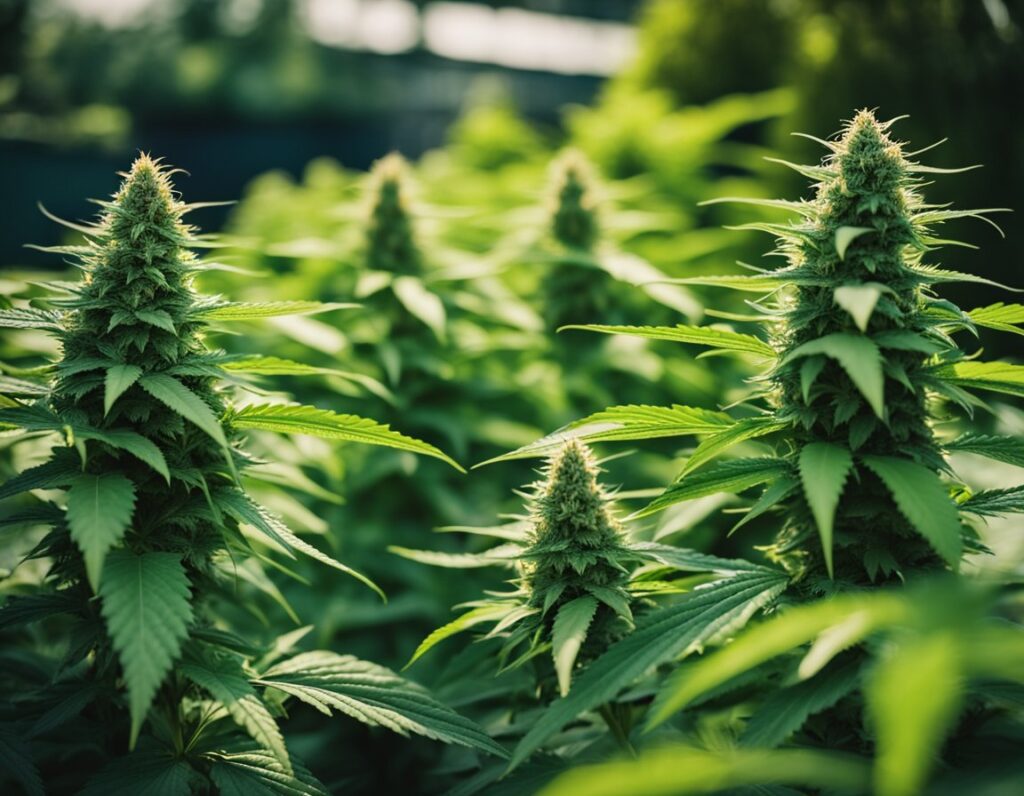
Effective post-harvest care is crucial for maintaining the quality of your autoflowering cannabis. This phase includes trimming, curing, and proper storage. Taking these steps will enhance the potency and flavor profile of your final product.
After harvesting, the first task is trimming. Use sharp scissors to remove excess leaves, which can contribute to a harsh smoke. Focus on trimming close to the buds to keep as much resin intact as possible.
Once trimmed, the curing process begins. Place the buds in glass jars, filling them only about 70-80% full to allow airflow. Store these jars in a cool, dark place. Open the jars for about 10-15 minutes each day during the first week. This helps to release moisture and allows for fresh air circulation, enhancing flavor development. Continue this process for several weeks to achieve optimal results.
Proper storage is essential to preserve the potency and flavor profiles of your autoflowering cannabis. Keep your cured buds in airtight containers, such as glass jars, to protect them from light and air. Store these containers in a cool, dark environment.
Humidity control is crucial; aim for a relative humidity level of around 62% to avoid mold growth. You can use humidity packs in jars to maintain this level. Regularly check your cannabis for any signs of moisture or deterioration. This careful approach can significantly enhance the longevity and quality of your harvest.
Growing autoflowering cannabis in Vancouver comes with unique considerations. Understanding the optimal conditions, growing cycles, and strain selections can significantly enhance your success.
For indoor growth, maintain a temperature between 20°C to 25°C during the day and slightly cooler at night. Adequate ventilation and humidity levels around 40-60% are essential to prevent mold and pests. Utilize LED grow lights to provide the necessary light spectrum without excessive heat.
Start by selecting a suitable location with ample sunlight and protection from strong winds. Prepare the soil by ensuring it’s well-draining and enriched with organic matter. Plant the seeds after the last frost date to optimize growth, typically in late spring.
The entire cycle for autoflower cannabis plants typically ranges from 8 to 12 weeks. Germination takes about 1 week, followed by a seedling stage of 1-2 weeks, with the flowering stage lasting 5-8 weeks depending on the strain.
Yes, you can directly sow autoflower cannabis seeds into the soil. It’s best to do this when temperatures are consistently above 15°C to facilitate germination. Ensure the soil is prepared and moist to aid the seeds in sprouting.
Strains like “Northern Lights,” “Amnesia Haze,” and “Blueberry” are often recommended for Vancouver’s climate. These strains can adapt well to the local conditions and typically offer a robust yield and favorable growth characteristics.
We ship and deliver world wide via USPS and various couriers.
We offer a wide range of secure and anonymous online payment options.
We care about you, our customer. Please contact us with any questions or concerns.
Find out more about the benefits of being a loyal and regular customer.
WE ARE EVERY GROWERS ONE STOP SHOP TO ACQUIRE PREMIUM CANNABIS SEEDS FOR SALE IN THE USA, CANADA AND AUSTRALIA

Farmers Lab Seeds 2024, | All Right Reserved
Seeds are sold as novelty items, souvenirs, and collectibles. They contain 0% THC. We encourage our customers to check the legislation in their Country, State, Province, and Municipality prior to purchasing items from our store. We do not provide growing information.
All seeds are sold as hemp, and lab tested under 0.3% THC. This product is not for use by or sale to persons under the age of 21. This product should be used only as directed on the label. It should not be used if you are pregnant or nursing. Consult with a physician before use if you have a serious medical condition or use prescription medications. A Doctor’s advice should be sought before using this and any supplemental dietary product. All trademarks and copyrights are property of their respective owners and are not affiliated with nor do they endorse this product.
These statements have not been evaluated by the FDA. This product is not intended to diagnose, treat, cure or prevent any disease. Individual weight loss results will vary. By using this site, you agree to follow the Privacy Policy and all Terms & Conditions printed on this site. Void Where Prohibited by Law.