Autoflower seed cultivation involves understanding the unique aspects of autoflower genetics, selecting the right seeds, implementing effective germination techniques, and preparing the ideal soil. Each step is crucial to ensuring a successful and bountiful organic autoflower crop.
Autoflowers are characterized by their ability to flower automatically after a certain period of time, regardless of light cycles. This trait arises from the cannabis ruderalis genetics present in their DNA. The typical life cycle of an autoflower spans from 8 to 10 weeks, from seedling to harvest. This rapid growth requires a careful approach as there’s less time to recover from potential issues.
Choosing the right seeds is paramount. Autoflower seeds are ideal if you’re looking for a shorter vegetation period, while feminized seeds ensure that plants are female and will produce buds. When selecting seeds, consider the desired traits like potency, yield size, and resistance to pests.
Successful germination leads to healthy seedlings. To germinate your seeds:
The soil you use for autoflowers should be light and airy. A mix containing one part perlite or vermiculite to three parts organic compost can provide the necessary drainage and nutrient content. Autoflowers do well in a soil pH range of 6.0 to 7.0. It is essential to allow the soil to dry out between watering to encourage appropriate root development.

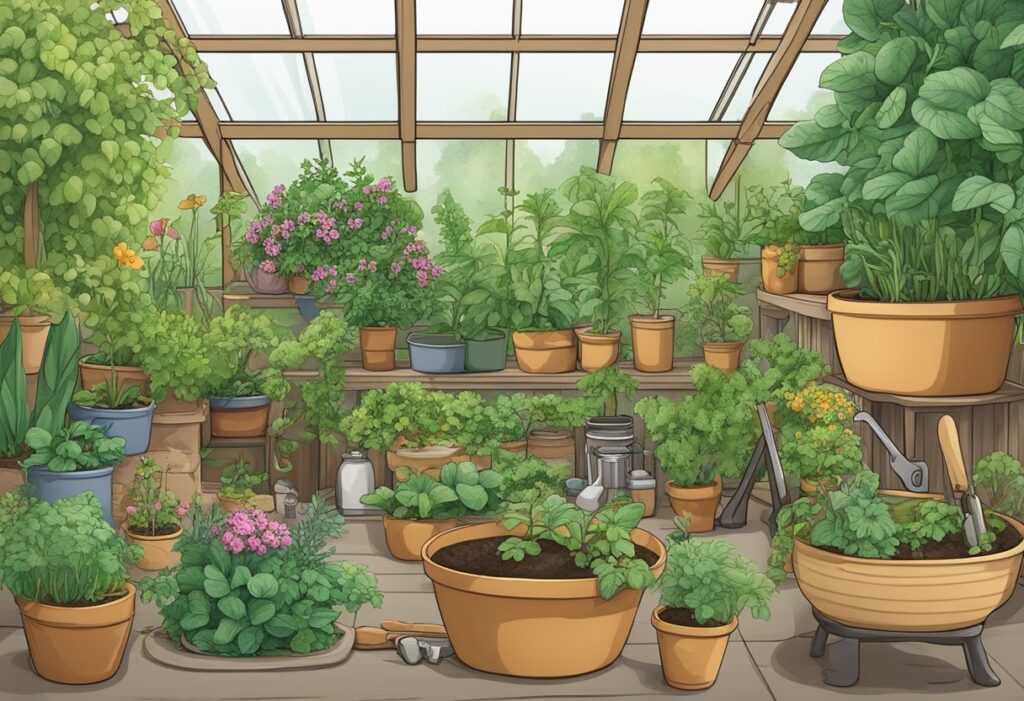
Creating the right growing environment and providing proper nutrition are crucial for the success of your autoflower cannabis plants. Climate control and the balance of nutrients, whether organic or synthetic, must be carefully managed to ensure healthy, robust growth.
Temperature: You should maintain a stable temperature between 20°C to 25°C for optimal growth, with night-time temperatures dropping no more than 5°C to avoid stress on your plants.
Humidity: Ideal humidity levels are between 40-50% during the flowering stage and 50-70% during vegetative growth. Use dehumidifiers or humidifiers to manage these levels.
Light Cycle: Autoflowers perform best with an 18-20 hour light cycle throughout their life. Use full-spectrum LED grow lights to provide a steady source of light without significantly influencing the temperature.
When selecting nutrients, consider the N-P-K (Nitrogen, Phosphorus, and Potassium) ratios appropriate for each growth stage of your autoflowers.
Water Quality: Use filtered water to avoid adding unwanted chemicals that can affect plant health. Rainwater is an excellent sustainable option, as long as it’s free from pollutants.
pH Levels: The optimal pH for watering your autoflowers is between 6.0 and 7.0. Regularly test the pH level of your water and adjust with pH up or down solutions to remain within this range, as it ensures proper nutrient uptake.
Maintain the quality and pH levels of your water rigorously; this consistency is key to preventing nutrient lockouts and promoting a thriving organic grow environment.

Understanding the growth stages of autoflowers is crucial to achieve a successful harvest. Applying low-stress training techniques can enhance yield without causing the plant undue stress, and recognizing the perfect time to harvest ensures potent and flavor-rich buds.
During the vegetative stage, your autoflowers will focus on leaf and stem growth. Expect this phase to last about 3-4 weeks. As you transition into the flowering stage, typically around week 5-6, buds will begin to form. During this crucial stage, the right environment is key: maintain temperatures between 21-29°C and adjust humidity levels accordingly—higher during vegetative and lower during flowering.
Low-Stress Training (LST) is an effective way to increase light exposure and airflow to your plant’s lower branches, thus promoting an even canopy and larger yield. Gently bend and tie branches outward, being careful not to snap stems. Avoid high-stress techniques such as topping or FIMing, as autoflowers have a limited recovery time.
Harvest your autoflowering cannabis when trichomes—the tiny, crystal-like structures on the buds—are mostly milky white with some turning amber. This indicates peak THC levels and optimum potency. Use a magnifying glass to monitor trichome color weekly once buds are fully formed, between weeks 8-9.
Proper post-harvest care ensures the quality of your cannabis. Hang branches in a dark, cool, and well-ventilated space to dry for about 7-14 days. Once stems snap easily, cure the buds in airtight jars, opening daily for the first week to let moisture escape and to prevent mold. Curing can take 2-8 weeks; the longer the cure, the better the flavor and smoothness of your pot.
To grow autoflowers organically, begin with non-GMO, organic autoflower seeds and use organic potting mixes. Implement organic fertilizers like compost teas or worm castings to feed your plants. Avoid synthetic pesticides by using natural pest control methods such as neem oil or beneficial insects.
The best organic potting soil for autoflowers should be light and well-draining to prevent waterlogging, with a pH between 6.0 and 7.0. Look for soil that contains organic matter like peat moss, worm castings, bat guano, and composted material to ensure nutrient-rich growth conditions.
Nutrient schedules should be lighter for autoflowers than for regular cannabis plants, as they are smaller and have a shorter life cycle. Start with a balanced organic nutrient solution and adjust based on the plant’s response. Overfeeding can easily harm autoflowers, so it’s crucial to monitor plant health and soil conditions regularly.
The paper towel method is highly successful for germinating autoflower seeds. Place the seeds between damp paper towels, and enclose them in a dark, warm area with high humidity. This method typically sprouts seeds in 1-5 days, with germination rates improving in the right conditions.
For growing autoflowers outdoors in Canada, aim for temperatures between 21-26°C (70-80°F) and humidity levels around 50%. Shelter your plants from extreme weather and provide ample sunlight. Northern regions require additional considerations due to a shorter growing season and cooler temperatures.