Gardening is a journey of patience and learning, and mastering the art of seedling care is a crucial part of this adventure. Whether you’re nurturing a vegetable garden or a flower bed, understanding the early stages of a plant’s life can make a significant difference in its growth and health. I remember my first foray into gardening – the excitement of seeing those first tiny sprouts, and the disappointment when some didn’t make it. This experience taught me the importance of proper seedling care, a lesson I hope to share with you.
Seed germination is a fascinating process where a seed emerges from its dormant state and begins its life as a plant. For those cultivating cannabis seeds, understanding germination is crucial, as several key factors influence success:
The germination process starts with the seed absorbing water, swelling, and breaking its coat. This is followed by the growth of the radicle, the embryonic root, which anchors the plant and starts absorbing nutrients from the soil.
To set the stage for successful germination, preparation is key:
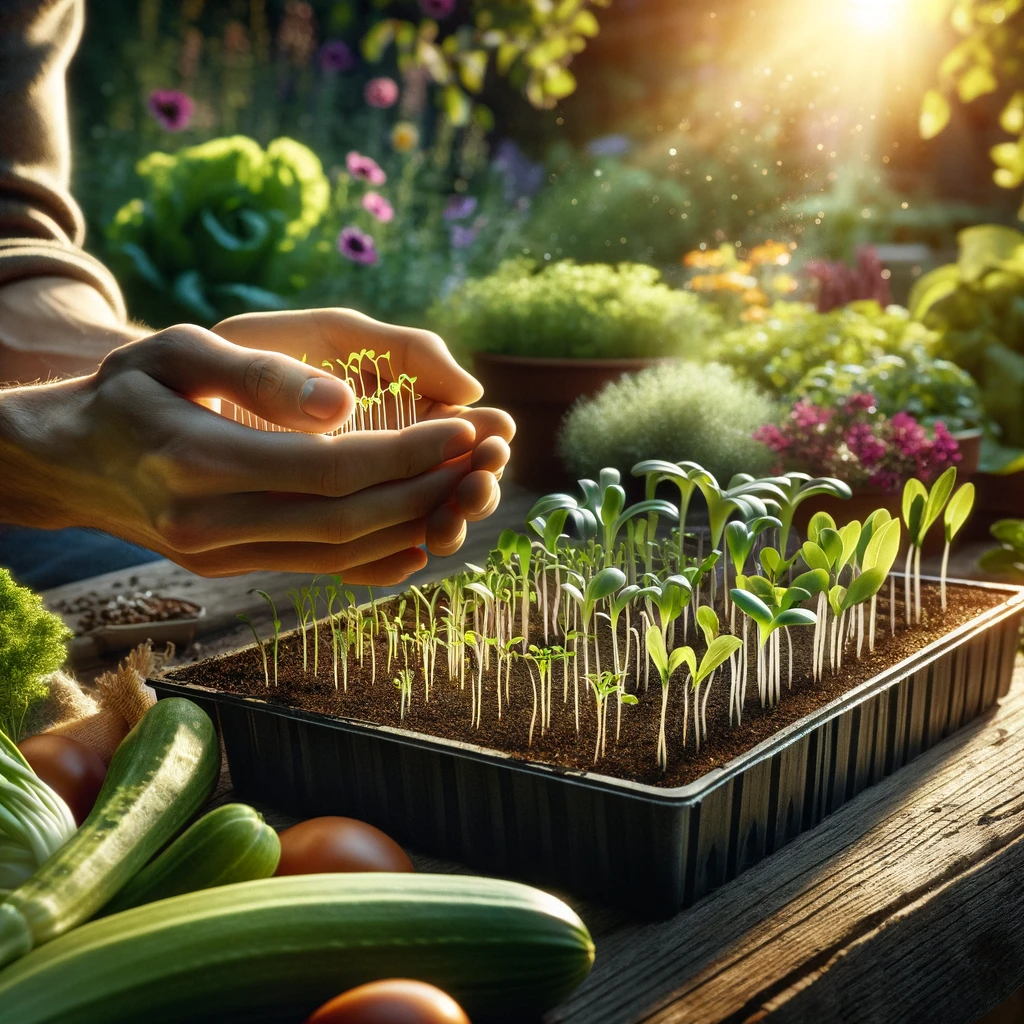
After your seeds have germinated, the next crucial phase is ensuring your seedlings grow strong and healthy. This involves careful attention to light, water, and nutrients.
Light: Seedlings require a lot of light to grow properly. If they don’t receive enough, they’ll stretch towards the light source, becoming ‘leggy’ and weak. For indoor seedlings, placing them near a sunny window may not be sufficient, especially in winter months. Consider using grow lights, which can provide the intensity of light seedlings need. Position the lights a few inches above the seedlings and keep them on for 12-16 hours a day to mimic natural sunlight.
Watering: Overwatering is a common mistake in seedling care. It’s essential to keep the soil consistently moist but not soggy. Let the top layer of soil dry out slightly before watering again. Using a spray bottle or a watering can with a fine rose attachment can help you water gently, avoiding soil disturbance or seedling damage.
Nutrients: Seedlings start with a limited nutrient supply from the seed itself. Once they develop their first true leaves (the second set of leaves that appear after the initial seed leaves), they’ll need additional nutrients. Begin feeding with a half-strength balanced liquid fertilizer every two weeks. Be cautious with the quantity, as too much fertilizer can harm delicate seedlings.
Even with the best care, seedlings can encounter problems. Here’s how to address some common issues:
Damping-Off: This disease causes seedlings to rot at the soil line and collapse. It’s caused by various fungi and is more prevalent in wet, poorly ventilated conditions. To prevent it, ensure good air circulation around your seedlings and avoid overwatering. Using a fan on a low setting can help circulate air, and making sure containers have drainage holes is crucial. Also, avoid handling seedlings when they are wet.
Leggy Seedlings: When seedlings stretch thin and tall, it’s usually a sign they’re reaching for light. To correct this, increase the amount of light they receive. If you’re using artificial lights, lower them closer to the seedlings (but not so close as to cause heat damage). Also, slightly reducing the temperature can help, as cooler temperatures tend to slow stem elongation.
Mold and Fungal Issues: White or gray mold on the soil surface or seedlings is a sign of too much moisture and poor air circulation. Reduce watering frequency, improve air flow, and if possible, decrease humidity around the seedlings. Removing any affected leaves or seedlings immediately is also important to prevent the spread of the fungus.
Transitioning your seedlings from the germination stage to the vegetative stage is a critical phase in their development. This stage is where they grow more leaves and increase in size, preparing for flowering and fruiting in the future. Here’s how to ensure a smooth transition:
True Leaves: Look for the development of several sets of true leaves, which are the leaves that appear after the initial seed leaves (cotyledons). True leaves indicate that the seedling is photosynthesizing and ready for more robust growth.
Root Development: Another sign is when roots begin to fill the container. You might see roots peeking through drainage holes or circling the soil’s surface.
Before moving seedlings outdoors, they need to acclimate to the harsher conditions they’ll face outside, like direct sunlight, wind, and fluctuating temperatures. This process is known as hardening off and usually takes about a week.
Gradual Exposure: Start by placing your seedlings outside in a shaded, sheltered spot for a few hours each day, gradually increasing their time outdoors and their exposure to sun and wind.
Monitor Closely: Keep an eye on them for signs of stress, like wilting or leaf burn, and adjust their exposure accordingly.
Once hardened off, your seedlings are ready to be transplanted.
Choose the Right Time: Transplant on a cloudy day or in the late afternoon to reduce transplant shock.
Prepare the New Site: Whether it’s a larger container or a garden bed, ensure it has fertile, well-draining soil. Add compost or a balanced fertilizer to give your plants a good start.
Transplant Carefully: Handle the seedlings gently, especially the roots. Disturb the root ball as little as possible during the transplant.
Water Thoroughly: After transplanting, water the plants well to help settle the soil around the roots and reduce stress.
Protection: Initially, provide some shade to help them adjust. You can use a cloth or a shade net for this.
Watering: Keep the soil consistently moist but not waterlogged. The first week after transplanting is critical for establishing the root system.
Feeding: A couple of weeks after transplanting, start a regular feeding schedule with a balanced fertilizer to support growth..
The vegetative stage is a period of significant growth for plants, where they develop the bulk of their foliage and structure. Proper care during this stage sets the foundation for successful flowering and fruiting. Here are some detailed tips for nurturing your plants during this crucial phase:
Understanding Spacing Needs: Each plant species has its own space requirements to thrive. Crowded plants compete for light, water, and nutrients, which can lead to stunted growth or disease. Refer to planting guides for specific spacing recommendations.
Benefits of Adequate Spacing: Proper spacing allows for better air circulation, which reduces the risk of fungal diseases. It also ensures that each plant receives enough sunlight and nutrients from the soil.
Adjusting as Plants Grow: As plants grow, they may need thinning or re-spacing. Be vigilant and ready to adjust to prevent overcrowding.
Promoting Stronger Plants: Regular pruning helps plants direct their energy to the most important growth areas, encouraging a stronger, more robust form.
Disease Prevention: By removing dead or diseased foliage, you reduce the risk of pests and diseases spreading.
Techniques: Use clean, sharp pruning shears. For most plants, it’s best to prune above a leaf node (the point where a leaf attaches to the stem). This encourages new growth to sprout from that node.
Pest Monitoring: Regularly inspect your plants for signs of pests. Early detection is key to managing infestations. Look under leaves and near the soil surface.
Watering Practices: Water needs vary depending on the plant type, soil, and climate. Generally, deep, infrequent watering is better than shallow, frequent watering as it encourages deeper root growth. Always check the soil moisture before watering.
Feeding Schedule: Use a balanced fertilizer to provide essential nutrients. Over-fertilizing can be as harmful as under-fertilizing, so follow the recommended rates and schedules. Liquid fertilizers are often preferred during this stage for their ease of application and quick absorption.
Soil Health: Regularly check the soil quality. Healthy soil should be rich in organic matter and have good drainage. Consider adding compost or organic matter to improve soil structure and nutrient content.
Mulching: Applying a layer of mulch helps retain soil moisture, regulate temperature, and suppress weeds.
Support Structures: For certain plants like tomatoes or climbing vines, providing support structures like stakes or trellises can encourage proper growth and prevent damage.
Each stage of seedling care, from germination to the vegetative stage, is vital in the life of a plant. Remember, gardening is as much about learning and adapting as it is about caring for your plants. Don’t be discouraged by setbacks; they’re just opportunities to grow as a gardener. Happy gardening!
Varies depending on the plant species, but generally ranges from a few days to a couple of weeks.
It’s better to use a seed starting mix, as regular garden soil may not be fine enough and could contain pathogens.
Seedlings that are stretching or leaning towards a light source likely need more light.
When should I start fertilizing my seedlings?
Usually, seedlings need fertilizing once they have their second set of true leaves.
Water when the top inch of soil feels dry, but frequency depends on factors like humidity and temperature.

We ship and deliver world wide via USPS and various couriers.
We offer a wide range of secure and anonymous online payment options.
We care about you, our customer. Please contact us with any questions or concerns.
Find out more about the benefits of being a loyal and regular customer.
WE ARE EVERY GROWERS ONE STOP SHOP TO ACQUIRE PREMIUM CANNABIS SEEDS FOR SALE IN THE USA, CANADA AND AUSTRALIA
Farmers Lab Seeds 2024, | All Right Reserved
Seeds are sold as novelty items, souvenirs, and collectibles. They contain 0% THC. We encourage our customers to check the legislation in their Country, State, Province, and Municipality prior to purchasing items from our store. We do not provide growing information.
All seeds are sold as hemp, and lab tested under 0.3% THC. This product is not for use by or sale to persons under the age of 21. This product should be used only as directed on the label. It should not be used if you are pregnant or nursing. Consult with a physician before use if you have a serious medical condition or use prescription medications. A Doctor’s advice should be sought before using this and any supplemental dietary product. All trademarks and copyrights are property of their respective owners and are not affiliated with nor do they endorse this product.
These statements have not been evaluated by the FDA. This product is not intended to diagnose, treat, cure or prevent any disease. Individual weight loss results will vary. By using this site, you agree to follow the Privacy Policy and all Terms & Conditions printed on this site. Void Where Prohibited by Law.