Embarking on your growing journey with autoflower seeds in Canada offers a straightforward path to cultivating cannabis. You’ll tap into the resilience of Cannabis ruderalis genetics and benefit from a selection of cultivars suited for faster and less light-dependent growth cycles.
Autoflower seeds are the progeny of Cannabis ruderalis, a species known for its hardy nature and automatic flowering cycle. Autoflowers bypass the need for light cycle adjustments, shifting from vegetative growth to flowering stage on their own, usually within 2-4 weeks. This natural trait makes autoflower seeds particularly appealing if you’re a beginner in the world of cannabis cultivation.
When selecting your autoflower seeds, consider the reputation of the seed bank and choose based on reliability and seed quality. Cultivars like ‘Gorilla Glue,’ ‘Indica,’ and ‘Sativa’ varieties are readily available. Your choice should align with your desired plant size, potency, and flavor profile.
The germination process is crucial for a healthy seedling. Two popular methods are:
Either technique should encourage your autoflower seeds to sprout, setting the stage for a robust cannabis plant. Remember, gentle handling of these initial stages ensures a successful start to your autoflower cannabis journey.
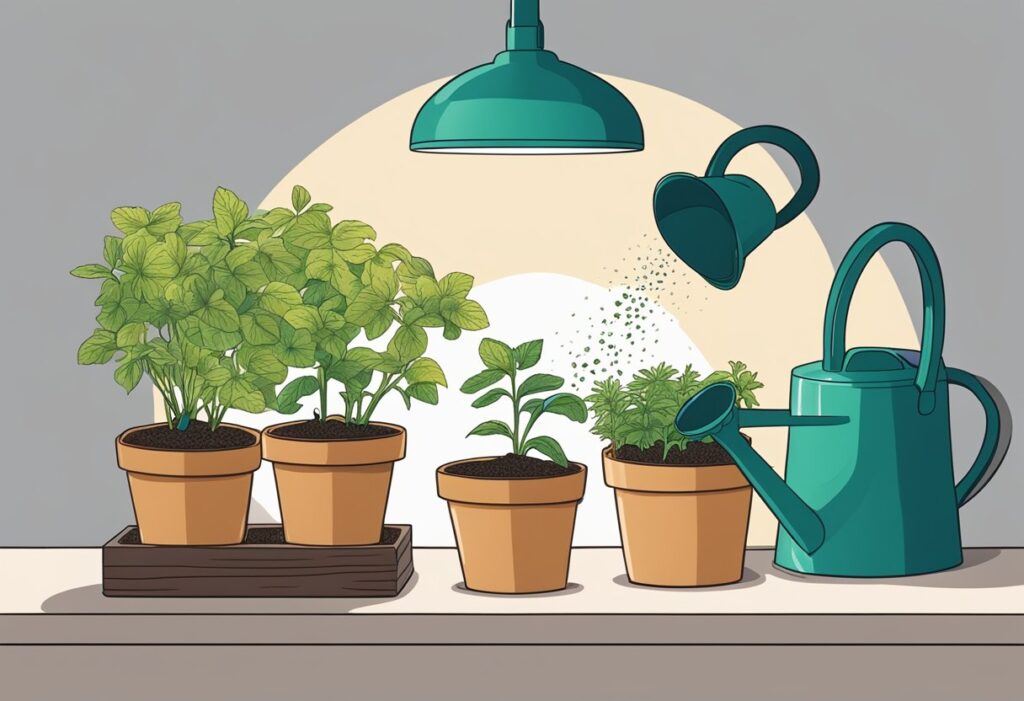
To successfully cultivate autoflower seeds in Canada, you need to focus on setting up an optimal environment that encourages robust plant growth. This means carefully selecting your growing medium and containers, maintaining precise light and water conditions, and managing nutrients and pH levels meticulously.
When starting with autoflower seeds, choosing both an appropriate medium and the correct pot size is crucial for your plant’s development.
Your plants’ health is significantly affected by light and moisture levels.
Nutrients and pH levels in your growing medium are essential to your autoflower’s health.
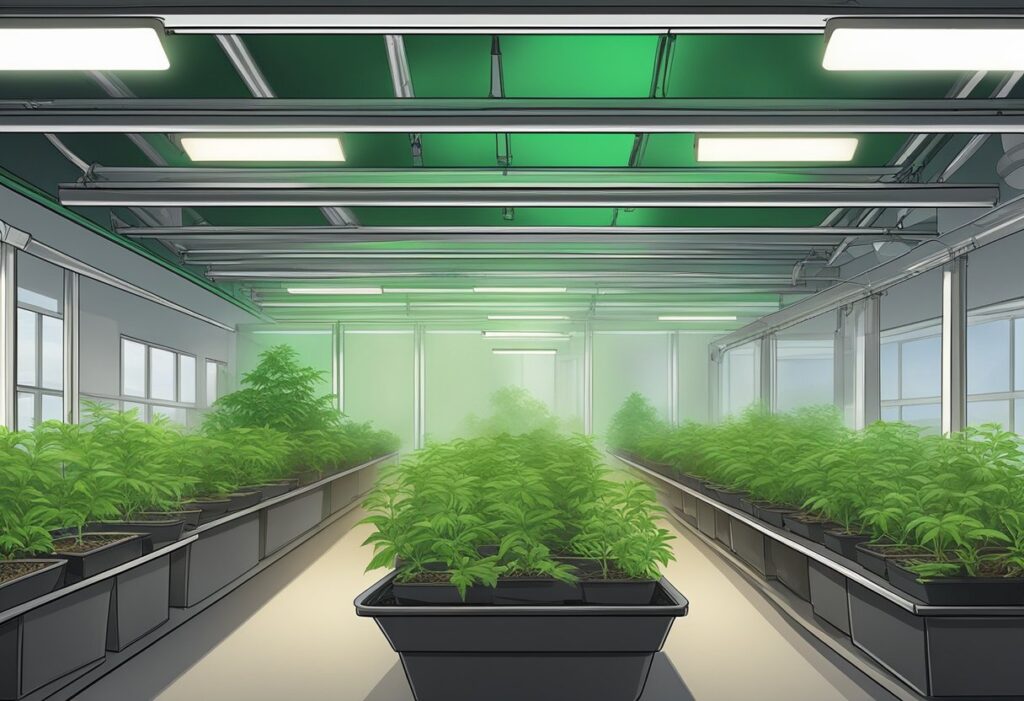
When your autoflower seeds in Canada begin to transition from the vegetative stage to the flowering stage, it’s a critical period that dictates the yield and potency of your cannabis plants. Knowing how to navigate this phase will help you avoid common mistakes and maximize your harvest.
Autoflowering cannabis plants have a distinct growth cycle that includes a vegetative stage lasting about 2 to 4 weeks. This is when your cannabis plant develops its structural foliage. Shortly after, it automatically shifts to the flowering stage, usually around weeks 4 to 10, based on the plant’s age, not light exposure. Keep your grow room’s humidity around 50% to support maximum growth without encouraging mold or pests. Your autoflower will develop trichomes and buds as it matures, the clear signs of a potent harvest to come.
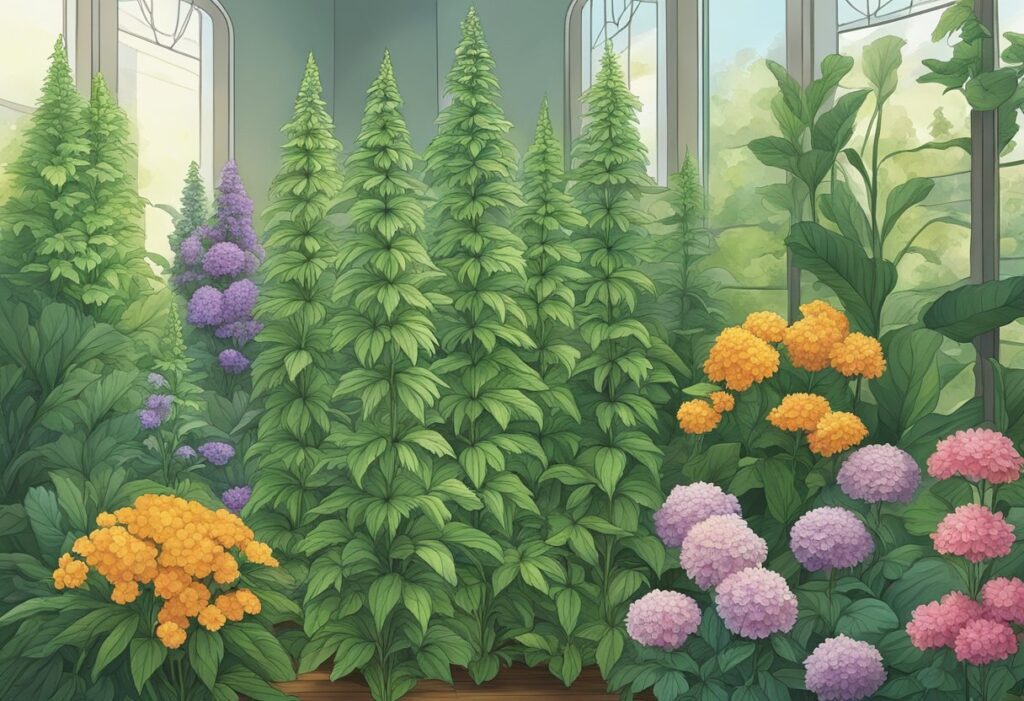
To ensure high yields from your autoflowering strains, gentle care is necessary. Use low-stress training (LST) techniques, like tying down branches, to create an even canopy and expose more bud sites to light. Avoid high-stress training methods that could damage your plant’s stems and disrupt growth. During this stage, proper nutrients are crucial, and maintaining a consistent light schedule of 16 to 20 hours a day will support your plant’s energy needs for growth and bud production.
Harvest time is key to realizing the fruits of your labor. When most trichomes on your buds turn cloudy white, it’s time to harvest. Cut the plants, trim away extra leaves, and hang the buds to dry in a dark, controlled environment with around 50% humidity and good air circulation. Dry until stems snap cleanly, typically after about 7-10 days. Then cure the buds in airtight containers, opened daily for the first week to allow moisture to escape and to ensure a smooth, flavorful smoke. This curing process enhances potency and can take several weeks for optimal results.
To germinate autoflower seeds effectively, maintain a warm environment around 70°F (21°C) and use a damp paper towel or a starter plug. Monitor the moisture levels to keep the seeds from drying out or becoming waterlogged.
The soil for autoflower seeds should be well-aerated and have good drainage to prevent water retention. Enriching the soil with organic matter can improve plant health, but avoid excessive nitrogen-rich fertilizers in the early stages.
Autoflower plants outdoors thrive in temperate climates with consistent light exposure. Aim for a site that receives plenty of sunlight (at least 10 hours per day) and has some shelter from strong winds. Seasonal temperatures should remain between 75°F and 85°F (24°C – 29°C).
Yes, you can plant autoflower seeds directly into the soil. It reduces the stress of transplantation. Simply create a small hole in the soil about 0.5 inches deep, place the seed, and gently cover it. This is most effective with loose, nutrient-rich soil.
Indoor autoflower grows can yield roughly the same amount per plant as outdoors, depending on your setup. However, outdoor plants often have more space and light, potentially leading to a larger overall yield if conditions are ideal.